|
Monitor Makeover Part I
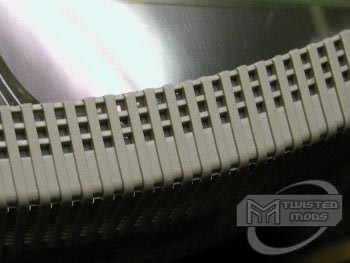
Page: 3/3 Next you will want to de-burr the edges.
More than likely, it will be slightly burnt/melted, and pieces will be up
between the grooves of the vent holes. You can remove them easily by prying at
them with your fingers/fingernails or with a utility knife. Any extrusions on
the sides of the holes can be easily removed with a utility knife, but be
extremely careful not to cut yourself, as the knife can stick under a wedge of
plastic requiring great force to remove. After you finish, it should be very
smooth. A light sand paper job is optional here and will add even more
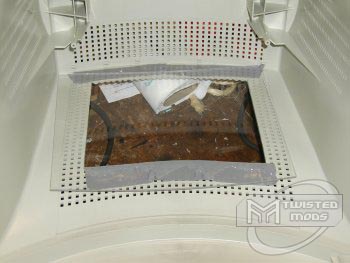
smoothness to the edge since molding just won?t look right! Now you will want to apply your adhesive to
the inside of the monitor casing around the window, just like any other case
window. I recommend the use of double sided foam tape as opposed to acrylic
cement because you may have to bend the lexan due to a curve in the monitor.
Then you will want to remove one side of the protective covering of the lexan
and apply that side to the tape. You should press down as much as you can
without causing it to break. The advantage of lexan is its flexibility, and this
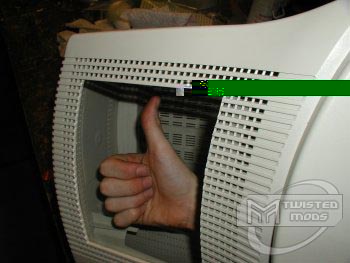
will come into play if you have a curved monitor. You have now completed the
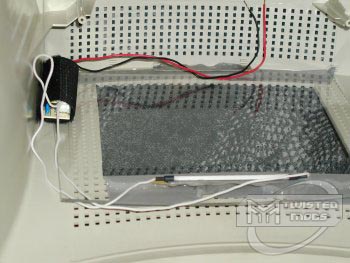
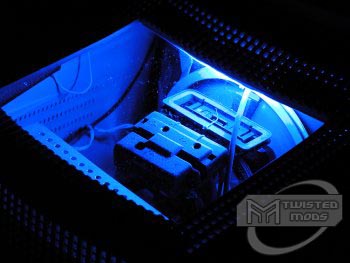
window mod. On to the lighting. You will want to use double sided tape again
to mount your CCFL(s). Look at the monitor?s internals and decide the best place
for the bulb and inverter should go for the best lighting effect and the safest
position (it should NOT touch any part of the monitor?s internals). I chose to
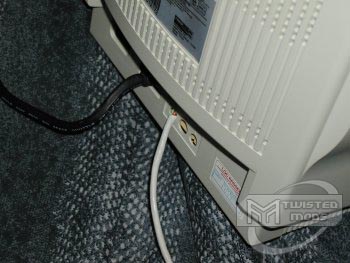
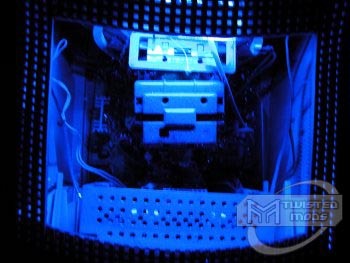
mount my bulb to the edge of the window, where it won?t directly be seen. You will want to attach a cable to your
inverter wires to run out the back of your monitor to your computer. I used Cat5
(because it is cheap and effective) and ran it out a hole that was precut in my
monitor (originally for monitor speaker hookups). If your monitor does not have
an empty hole to run the cable out of, simply use a drill bit or cut one with
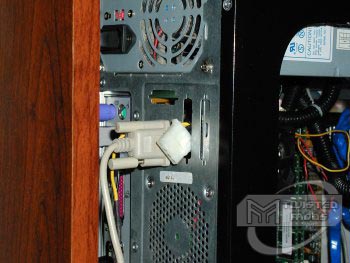
you dremel. I then ran this cable into my computer
through a PCI slot that wasn?t occupied and into my lighting controller hookup.
You will most likely want to attach a molex connector to the other end of the
cable to plug it into your baybus/PSU. Another option might be putting a molex
connector through one of the old AT connector holes on the back of your computer
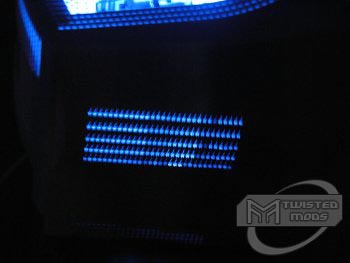
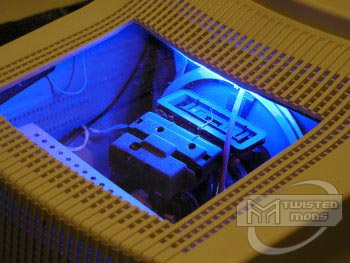
much like I did for my external controller. Congratulations, you now have a windowed
monitor. Juice it up and amaze your friends. Stay tuned for Part II where I will
show you how to change you monitor LED (or LEDs in old monitors) and add fans to
your monitor. Enjoy!
? < Previous Page 2/3 |
||||||||||||||||||||


 ????
????
 ????
????
 ????
????